

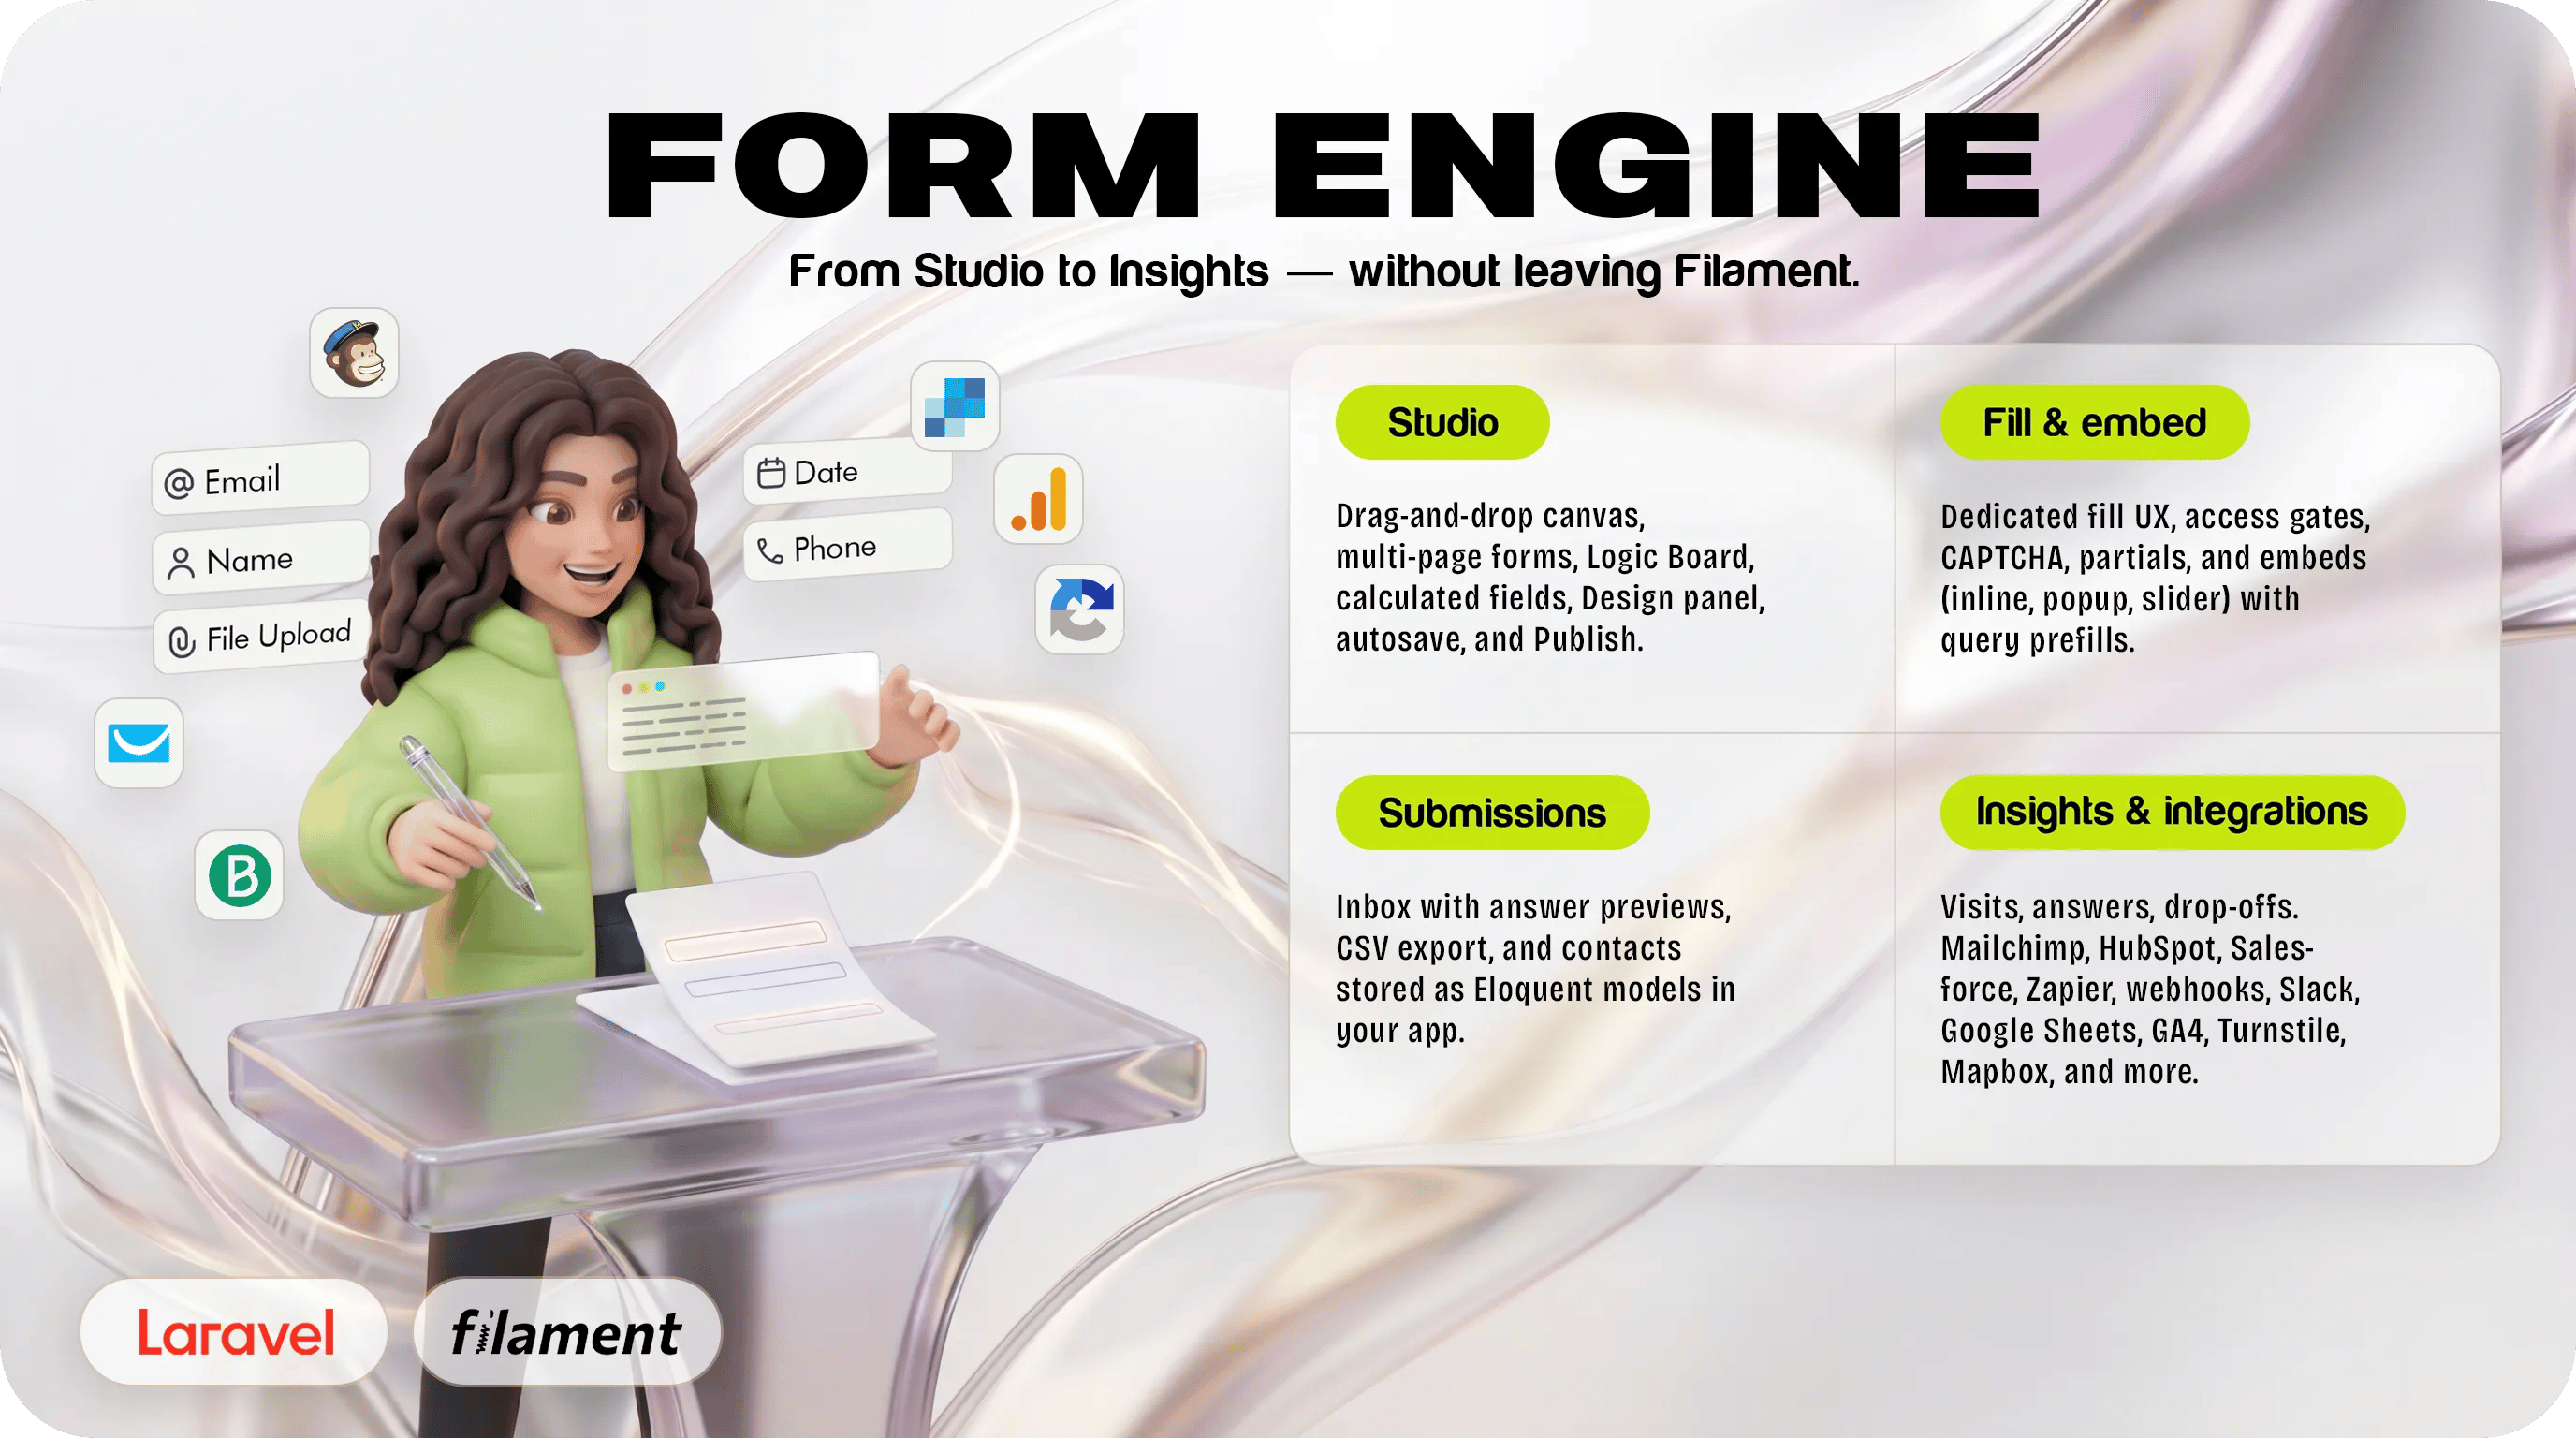
What Studio is made of
Left rail (installation-wide)
Inside a form: builder vs hub
Builder panels
Component catalog
40+ blocks — identity, choices, media, Stripe Payment, and more. CAPTCHA is configured under Form Settings → Access, not as a canvas block.
Canvas & pages
Drag-and-drop reorder, multi-page steppers, page breaks.
Field settings
Internal Name (integrations / prefills), public Label, validation, help text, type-specific options.
Logic Board
Conditions, operators, and actions — show/hide, require, jump, calculate, hide submit. See Logic overview.
Calculated fields
Spreadsheet-style formulas for scores and pricing totals.
Design
Colors, typography, logos, layout, cover, custom CSS on every plan.
Thank-you
Success screen after submit (message, redirect, extras).
Preview & Publish
Preview the draft; Publish pushes the live fill URL. Unpublish takes it offline.
Form hub tabs (same form, ops side)
Once a form exists, the hub sits alongside the builder:The build cycle
1
Create or open a form
Left rail → Forms → New, or open an existing form into Studio.
2
Construct
Drag blocks from the catalog onto the canvas. Prefer specific blocks (Email, Phone, Currency) over generic text.
3
Configure
Click a field → set Name, Label, validation. Integrations and query prefills use the internal Name — see Name & label.
4
Organize (multi-page)
Split long flows into pages. Drag & Drop Pages · Multi-page guide.
5
Inject logic & calculations
Logic Board for branching; calculated fields for scores. Logic & calculations guide.
6
Brand
Design panel for identity. Design guide.
7
Wire ops
Hub → Settings (emails, access), Integrations (feeds), Share (URL / embed).
8
Preview & Publish
Preview the draft, then Publish so the public fill URL receives the new schema.
Logic at a glance
Troubleshooting
I see a License Error while saving
I see a License Error while saving
Studio requires a valid runtime license bound to the current hostname. See Activate License.
My changes aren't showing on the live form
My changes aren't showing on the live form
You edited the draft. Click Publish to push the live schema.
Integrations fields are empty / wrong account
Integrations fields are empty / wrong account
Pick the correct Connection on the form feed, or wait for remote catalog sync. See Integrations overview.
CAPTCHA / Map / Stripe missing
CAPTCHA / Map / Stripe missing
Enable the provider under Integrations → Catalog first (reCAPTCHA, Turnstile, Mapbox, Stripe). They are not canvas “integration feeds”.